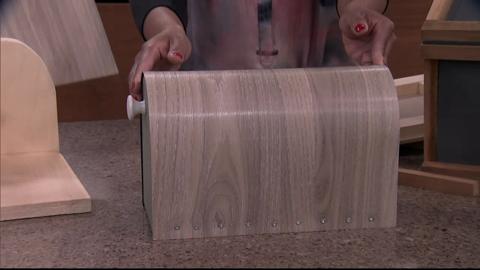
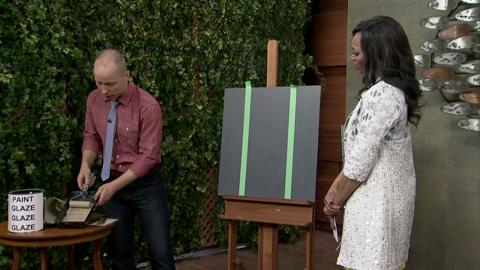
Don’t want to throw out old or worn-out picture frames? Try some of Antonio Bellusci’s DIY ideas to make those old picture frames new again.
How to Make a Picture Frame Mat
Materials & Tools
- Cardboard
- Cutting tools – scissors, box knife
- Decorative paper
- Tape
- Measuring tool / ruler
- Pencil
Instructions
- Cut cardboard to fit inside frame opening
- Cut opening in cardboard to frame picture – consider using different widths along the top / bottom versus sides for more visual interest
- Cut paper larger than cardboard overall size – 1.5 – 2 inches larger in both width and height
- Place paper good side down and centre cardboard mat over top – draw an X shape inside mat centre crossing opposite corners
- Using cutting tool – cut X shape
- Wrap loose sides of paper onto backside of mat, trim excess and secure in place with tape
- Repeat for all sides – inside of mat opening and around outer edges
- Secure picture on mat and inside frame
Option – consider using fabric instead of paper
Approximate Cost $5
How to Make a Foam Core Picture Frame Mat
Materials & Tools
- Foam core
- Cutting tools – scissors, box knife
- Measuring tool / ruler
- Pencil
Instructions
- Cut foam core to fit inside frame opening
- Draw a box / rectangle to centre around picture
- Cut foam core opening to fit picture – consider using different widths along the top / bottom versus sides for more visual interest
- Secure picture on foam core mat and inside frame
Approximate Cost $5
Gold Painted Frames
Materials & Tools
- Picture frame with preferably dark frame
- Gold paint
- Paint brush
Instructions
- Using small amounts of gold paint – paint frame allowing some of the darker original colour show thru
- Continue painting frame till you reached the desired look
Approximate Cost $5


