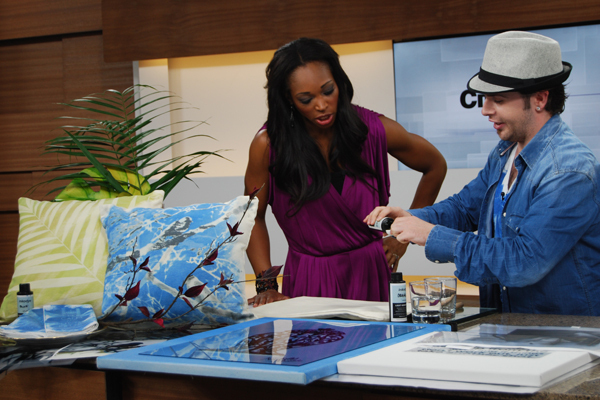
This fun light-sensitive dye project from Nicholas Rosaci will get you to mix dyes, creating various shades of colour for an eclectic look.
MATERIALS REQUIRED:
1. Light Sensitive Dye (Inkodye from Lumi www.lumi.com)
2. Natural Fibre Fabric (Cotton, Linen, Canvass, Silk, Jute, Wool etc.)
3. Interesting objects to create a motif on the fabric such as buttons, leaves, or string
4. Paint brush and small glass jar
5. Large piece of stiff cardboard or foam core
6. Plastic or fabric drop cloth
7. Transparent tape
8. Laundry Detergent (without bleach)
9. Optional: Large picture frame glass pane
STEP 1
On a tabletop protected with a simple plastic drop sheet, layout flat and secure a piece of fabric onto a stiff piece of cardboard or foam core available at craft stores.
STEP 2
In a room with very low light, pour about 3 teaspoons of the light sensitive Dye into a small glass and add 3 to 9 teaspoons of water to dilute. The more water added, the less intense the colour will be.
STEP 3
Using a small brush, quickly brush the clear dye onto to fabric to make it damp but not overly wet. NOTE: Adding more dye does not increase the intensity of the colour.
STEP 4
Arrange your objects flat on top of the fabric in a fashion you desire. The Dye will not develop in any area underneath your objects where they block the sunlight.
STEP 5
Carefully place the project into the Sunlight to develop. The clear dye will begin to develop colour in 5 to 8 minutes with strong sunlight, and 10 to 20 minutes with overcast light.
TIP: For the best results, ensure the sunlight doesn’t seep underneath your objects by placing simple picture frame glass overtop of your objects to keep them pressed flat on the fabric.
STEP 6
When the sun has changed the clear dye on the fabric to the colour you wish, wash and scrub the fabric very well in laundry detergent to remove the dye.
NOTE: Do not use any bleach detergent for this step. Once dry, the fabric can be used in various creative projects.
OPTIONS:
– Light sensitive dyes can be used to create interesting images on fabrics and create unique custom Napkins, Pillows, Artwork on canvass, Clothing or Printed fabric used to reupholster the backs of chairs etc.
– You can use an inkjet printer to print a silhouette or a picture negative image onto an acetate overhead transparency film available at office supply stores. Any picture can be turned into a “photo negative” using a photo editing program such as Microsoft paint, or Adobe Photoshop. When placed in the sun, the image of the transparency will be transferred onto the fabric
TIP: For best results, double up the printed transparencies to ensure the Sunlight only penetrates through the clear areas of the transparencies.
The dyes can also be mixed to create various shades of colour for a less structured eclectic look.
Courtesy Nicholas Rosaci, www.rosaci.com

